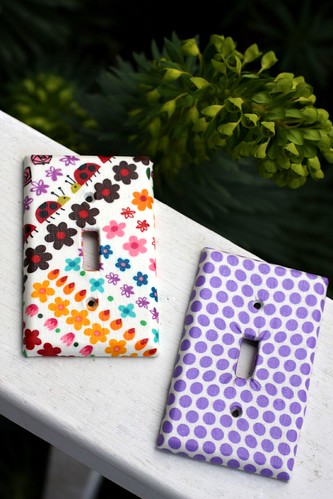
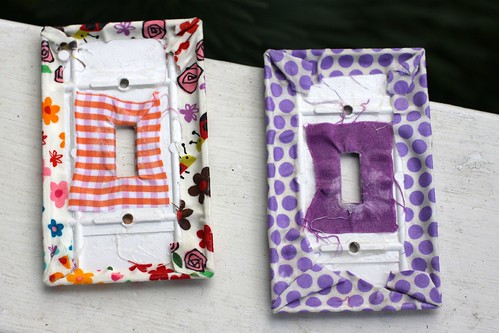
Switchplates were the March 2008 theme for my Out of the Box creativity challenge. I took some in progress photos but not a full-blown tutorial. I even forgot to take a stylized photo of the one I traded that night, very unlike me! Fortunately making these are extremely addictive so I had plenty more for that purpose. Guess which is Leil’s and which is Caitlin’s?
Feel free to ask questions about missing steps.
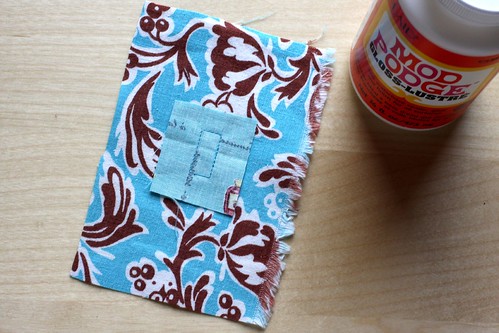
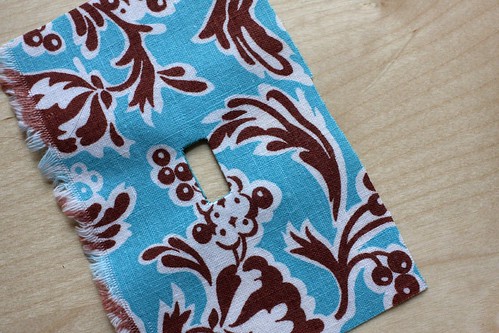
I used a standard white plastic switchplate for the base, Yes! paste and Mod Podge Gloss Lustre. I started off trying to use Mod Podge as both the adhesive to attach the fabric and as the top coat. Everything slipped around so I changed to Yes! paste for attaching the fabric. It provided just the right amount of tack to keep things in place.
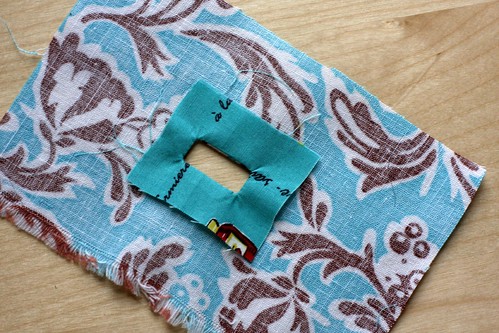
The other construction element I experimented with was the center hole. I tried cutting a slot in the fabric and bending back the wings to paste them to the backside, a standard technique when using paper or contact paper. I wasn’t satisfied with this technique for fabric. The fibers tended to fray and it was difficult to get the tiny bits of fabric to hold well. I made a simple facing for the hole and was very pleased with the tidiness of the final result.
To make a facing:
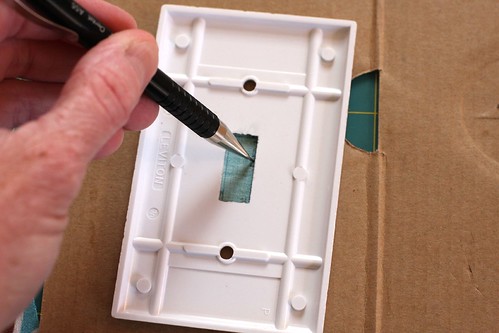
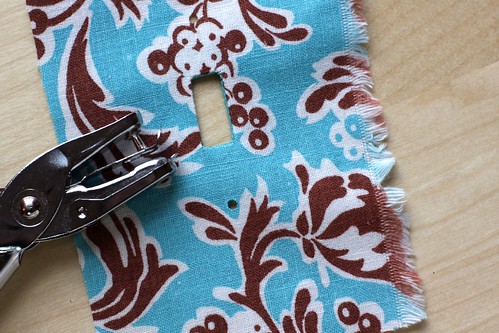
Punch some holes for the screws:
The missing steps:
- push the facing fabric through the switchplate hole, bring all the seam allowances to the back, use Yes! paste to glue it all down
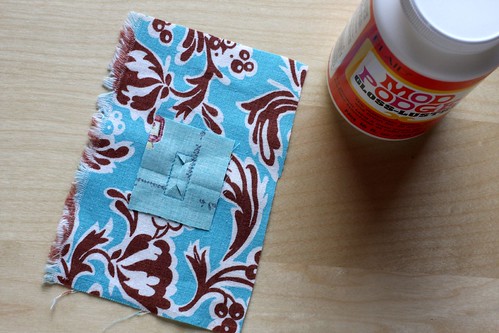
- brush the front of the plate with Yes! paste and smooth the fabric down
- turn back the corners and slather with paste to get them to stay in place (see final photo of switchplate back to get an idea of how I did mine)
- apply a good thick layer of Mod Podge to the whole thing
- try to be patient while it dries, start unscrewing every switchplate in the house
Finished switchplate now residing in my friend Margret’s home (I sure like the fabric on this one! the feedsack fibers gave it a fabulous texture):

Back sides of finished plates:
Nenhum comentário:
Postar um comentário